
Table of Contents
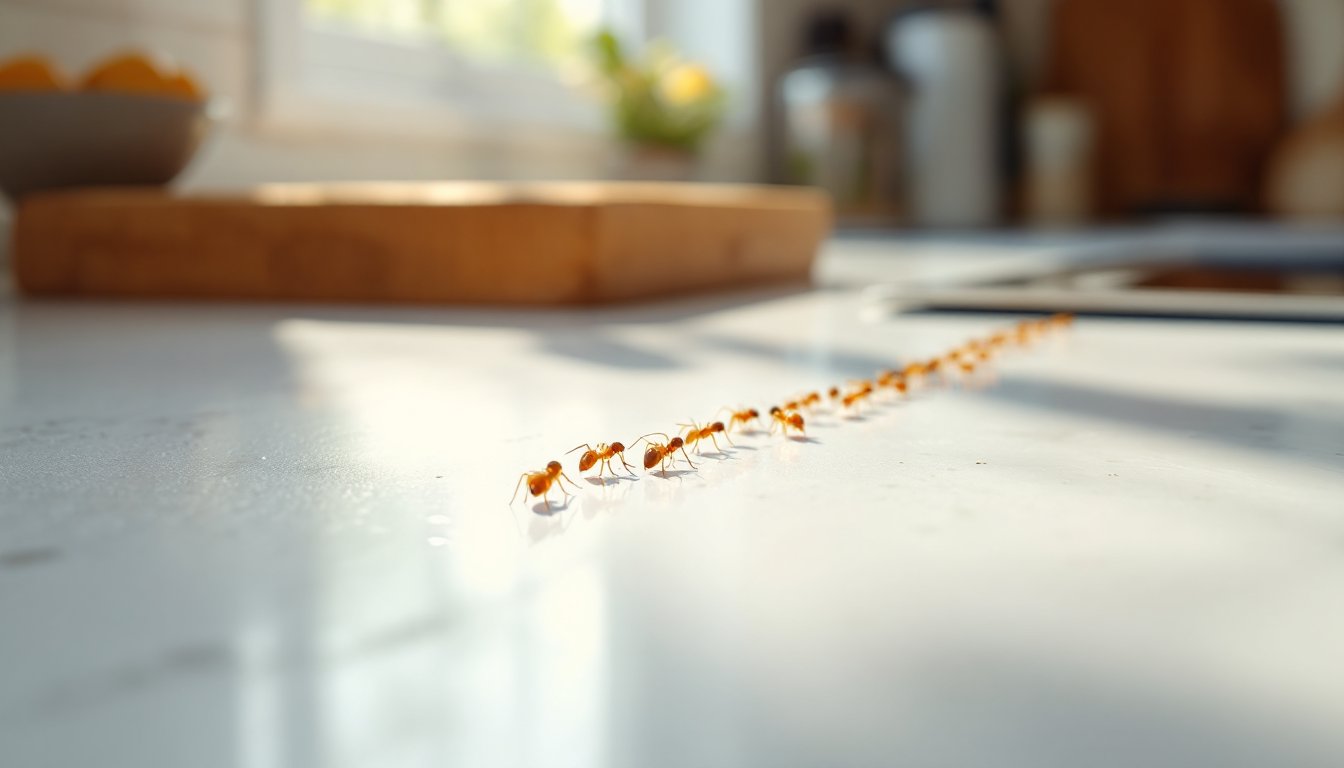
ToggleFinding tiny red ants marching across your kitchen counter is enough to send anyone into panic mode. These persistent little invaders can appear seemingly overnight, infiltrating pantries, bathrooms, and walls. The good news: tiny red ants in your house are manageable with the right identification, quick action, and prevention tactics. This guide walks you through spotting what you’re dealing with, understanding how they’re getting in, and eliminating them before they establish a full colony in your walls. We’ll cover DIY solutions, treatment options, and, most importantly, when it’s time to call in professional help.
Key Takeaways
- Tiny red ants in your house are most often pharaoh ants or red carpenter ants, and proper species identification determines the most effective treatment approach.
- Eliminate entry points by sealing cracks around windows, baseboards, and utility penetrations with caulk while simultaneously removing food sources through sanitation and airtight storage.
- Bait stations mixing borax and powdered sugar or commercial gel baits work best by allowing ants to carry poison back to the nest, eliminating the entire colony within 1–3 weeks.
- Consistent sanitation, sealed containers for dry goods, and moisture control are the most effective prevention strategies to keep tiny red ants from returning seasonally.
- Contact a professional pest control service if carpenter ant damage is visible, the infestation persists beyond 3 weeks, or you find recurring problems, as these indicate large or multiple colonies.
Identifying Tiny Red Ants: What Species Are Invading Your Home
Not all tiny red ants are the same, and proper identification matters because treatment approaches vary by species. The most common culprits in U.S. homes are pharaoh ants and carpenter ants (specifically red varieties), though fire ants and acrobat ants also show up regionally.
Pharaoh ants are the real troublemakers in most indoor infestations. They’re about 1/16 inch long, barely visible to the naked eye, with translucent yellowish-red bodies and a two-segmented petiole (the narrow waist connecting thorax to abdomen). They thrive in warm, humid environments and often nest inside walls or appliances.
Red carpenter ants are larger, typically 1/4 to 1/2 inch, with shiny red or bicolored red-and-black bodies. Unlike termites, carpenter ants don’t eat wood: they excavate galleries to nest inside, which can damage structural integrity over time. Carpenter ant damage is serious enough to warrant immediate attention.
Fire ants and acrobat ants are smaller outdoor species that occasionally drift indoors, but they’re more common in southern and western states. Check online ant identification guides or snap a photo for your local extension office if you’re unsure. Many county agricultural extension services identify ants free of charge.
Common Entry Points: Where Tiny Red Ants Get Inside
Tiny red ants don’t need much space to squeeze through. They exploit gaps you can’t even see. Start by inspecting window frames, door thresholds, and the gaps where utilities enter the house, electric lines, plumbing, and HVAC penetrations are common highways.
Check around baseboards, especially in kitchens and bathrooms where moisture attracts ants. Cracks in the foundation, gaps in siding, and worn weatherstripping are low-hanging fruit. Ants also travel along pipes under sinks and behind cabinets, using plumbing runs as vertical highways into upper floors.
Common food sources pull them indoors: unsealed pantry items, crumbs under appliances, and grease buildup around stovetops. Pet food bowls left out overnight are an open invitation. They don’t just wander in randomly, they’re following scent trails left by scout ants. Once one finds food, dozens follow the chemical breadcrumb trail back to the nest.
Document problem areas with a flashlight and notebook. Look for the actual ant trails (visible lines of marching ants) leading indoors: these show you exactly where they’re entering and where they’re headed. This intel helps with targeted treatment.
Fast DIY Solutions to Eliminate Tiny Red Ants
Once you’ve identified the entry points and species, containment and elimination can begin. Start with immediate sanitation: remove all accessible food sources, wipe down all kitchen surfaces with a damp cloth, and store pantry items in airtight containers. Vacuum up crumbs and grease thoroughly. This starves the ants of immediate resources and forces them to rely on bait traps.
Step-by-step DIY approach:
- Set up bait stations. Mix equal parts borax powder and powdered sugar with a small amount of water to create a paste. Place small dabs on cardboard or plastic lids near ant trails. Ants consume the bait and carry it back to the nest, poisoning the colony. Keep bait away from children and pets.
- Use commercial ant baits if preferred. Gel baits (like Terro) or liquid baits work faster for many people and require less mixing. Place baits along observed ant trails, not scattered randomly.
- Seal cracks and gaps. Use silicone caulk (paintable or clear) to seal gaps around windows, baseboards, and utility penetrations. For larger gaps, pack backer rod first, then caulk over it. This prevents new ants from finding entry routes while the current colony dies off.
- Eliminate moisture sources. Fix leaky pipes and wipe under sinks daily. Ants need water: cutting off supply weakens the colony.
Natural and Chemical Treatment Options
Natural remedies like cinnamon, citrus oils, and diatomaceous earth have limited effectiveness against established infestations but work as supplementary deterrents. Food-grade diatomaceous earth can be dusted along baseboards and entry points (wear a dust mask to avoid inhaling particles): it damages ant exoskeletons over time. But, don’t rely on it alone.
Chemical options include borax-based treatments, pyrethrin sprays, and neonicotinoid baits. Borax is low-toxicity but effective: pyrethrin is a natural insecticide derived from chrysanthemums: neonicotinoids (like imidacloprid in Bayer ant traps) are synthetic neurotoxins highly effective on ants. Always read labels, follow application rates, and keep treatments away from food prep surfaces, children, and pets.
For persistent infestations lasting more than 2–3 weeks even though baiting, or if you spot carpenter ant damage (sawdust-like frass near walls), move to professional treatment.
Prevention Strategies to Keep Red Ants Out for Good
Prevention beats treatment every time. After eliminating the current infestation, maintain these practices year-round.
Sanitation and maintenance:
- Store all dry goods (flour, sugar, cereal, pet food) in airtight, sealed containers. Glass or hard plastic works best.
- Clean kitchen surfaces daily, especially stovetop grease and countertop crumbs.
- Take trash out every evening and ensure bins have tight-fitting lids.
- Don’t leave pet food out overnight: feed and remove bowls immediately.
- Wipe down pipes and faucets to remove standing water droplets.
Structural sealing:
- Inspect and recaulk window frames and door thresholds every 2–3 years. Caulk deteriorates and shrinks over time.
- Install or repair weatherstripping on exterior doors.
- Seal gaps around electrical outlets, cable runs, and plumbing penetrations using low-expansion foam or caulk.
- Keep landscaping 6–12 inches away from the foundation: mulch and soil touching siding create highways for ants.
Perimeter defense:
- Consider applying a barrier treatment (like carpenter ant prevention products) around the exterior foundation in spring and fall, especially if you’ve had previous infestations. This is optional but effective.
- Trim tree branches so they don’t touch the roof or siding: ants use branches as bridges.
- Keep gutters clean and ensure downspouts drain at least 4 feet from the foundation.
Consistency matters more than any single tactic. A sealed, clean, dry house is naturally hostile to ant colonies.
When to Call a Professional Pest Control Service
DIY treatment works for most small, fresh infestations, but you should escalate to professionals under these circumstances:
- Carpenter ant damage confirmed. If you’ve spotted galleries, sawdust (frass), or structural damage, the colony is established and likely extensive. Professional inspection and fumigation may be necessary.
- Infestation persists beyond 3 weeks even though consistent baiting and sealing. This signals either a large, protected nest or multiple entry points you haven’t found.
- Infestation returns seasonally. Recurring infestations mean external colonies are actively reinvading: a professional barrier treatment and interior inspection can identify hidden nests.
- You have immunocompromised household members or very young children. Professional services can treat without residential-grade chemical exposure.
When interviewing pest control companies, ask about their inspection process, whether they use bait-based or spray treatments, and warranty coverage if the problem recurs within 30–90 days. Check reviews on Angi and ask for references from recent jobs. A reputable service should guarantee results or offer retreatment at no extra cost.
Professional treatments typically run $150–$400 for initial service and $100–$250 for follow-ups, depending on infestation severity and your region. Some companies offer quarterly or annual preventive programs.
Conclusion
Tiny red ants in your house are annoying but solvable. Identify the species, locate entry points, set up targeted baits, and seal gaps, most infestations clear within 1–3 weeks with this approach. Pair treatment with consistent sanitation and you’ll prevent reinfestation. If DIY efforts stall, professional help is affordable and effective. The key is acting fast before a few scouts become a colony living inside your walls.